Using Sets to Highlight Data
1. Creating Sets
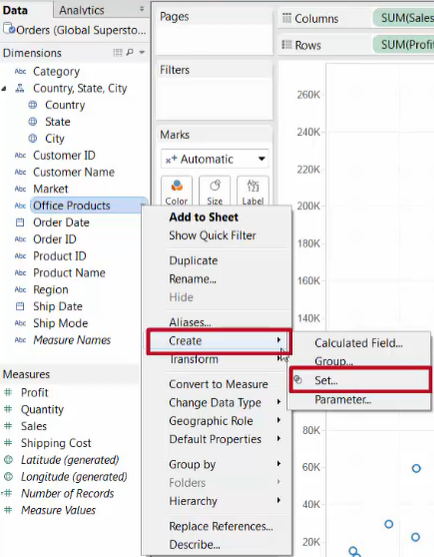
Method 1. From the Dimensions Pane
-
[Data] Pane --> Dimension field --> Drop down [Menu] --> [Create] --> [Set]
-
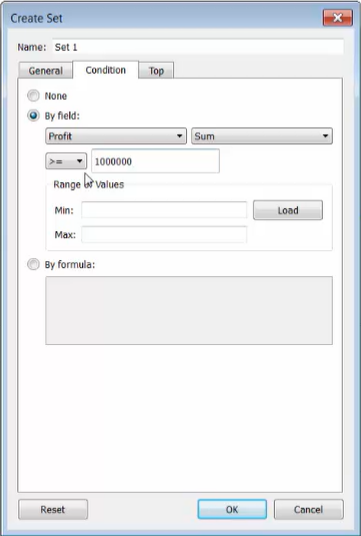
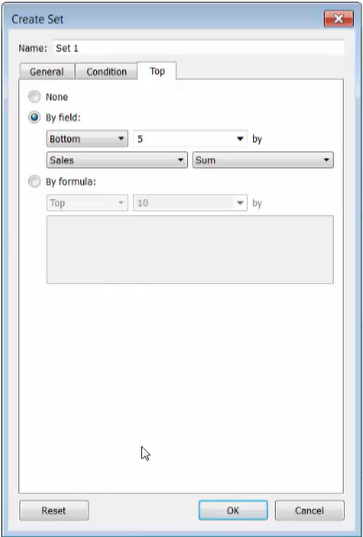
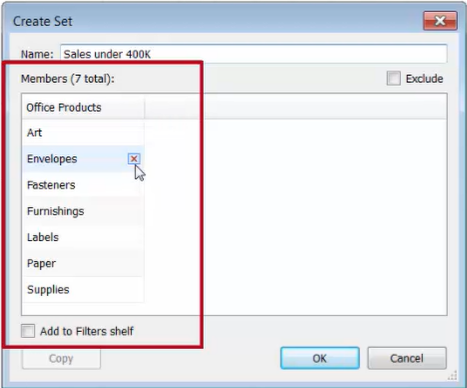
[Create Set] dialog box
-
[General]
- Specifically select individual dimension members to include in your set

-
[Condition]
- Create a set on a condition
-
[Top]
- Select the top / bottom X member on a specific metric
-
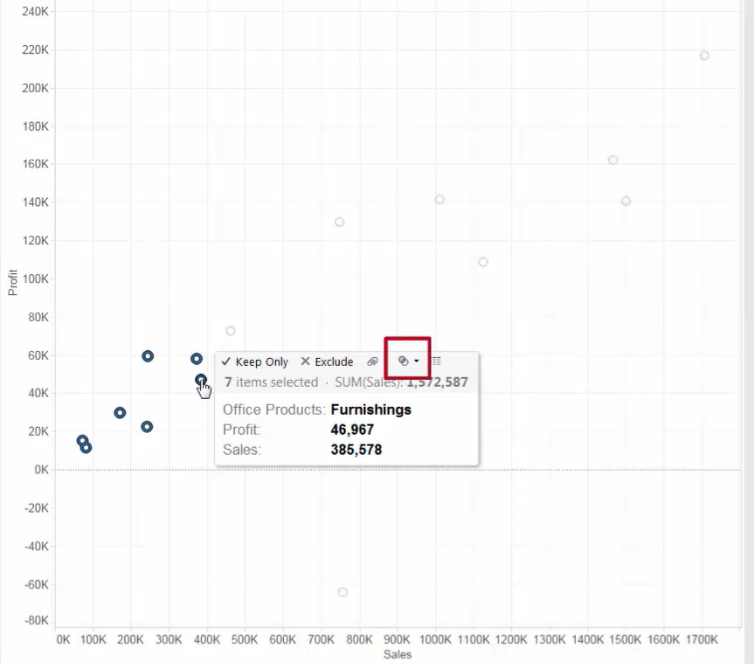
Method 2. Create sets by selecting the marks in the view
-
Select multiple marks by clicking and dragging your mouse
-
Hover your mouse over the set until you see a tooptip menu
-
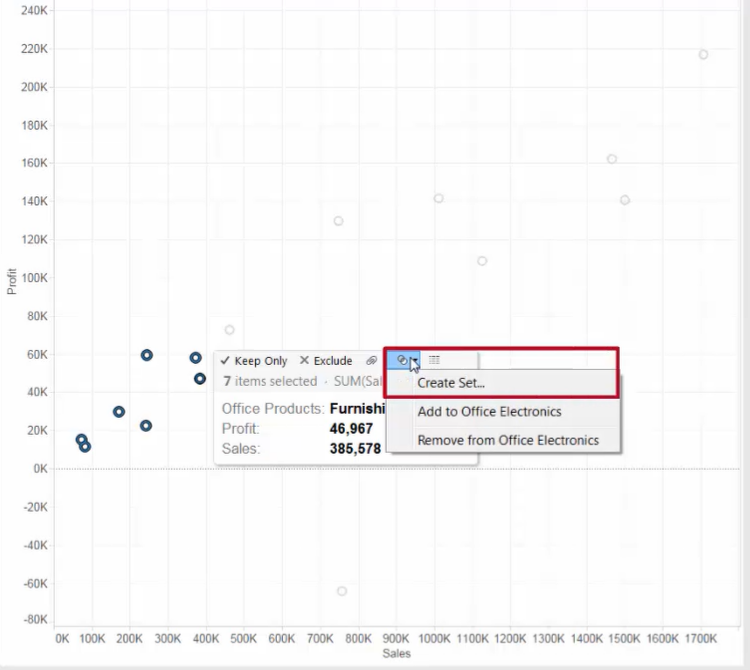
Click the sets icon that looks like two conjoined circles --> Click [Create Set]
-
[Create Set] dialog box
2. Uses for Sets
-
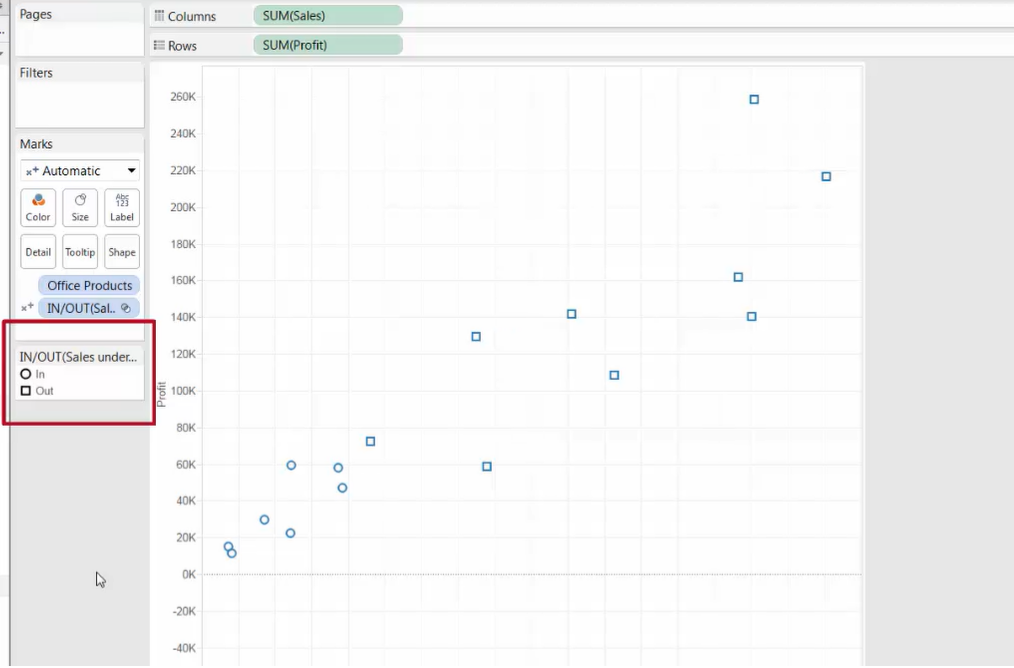
Viewing in / out sets
Dragging the set into the view can identify all the dimension members that are in and out of the set
-
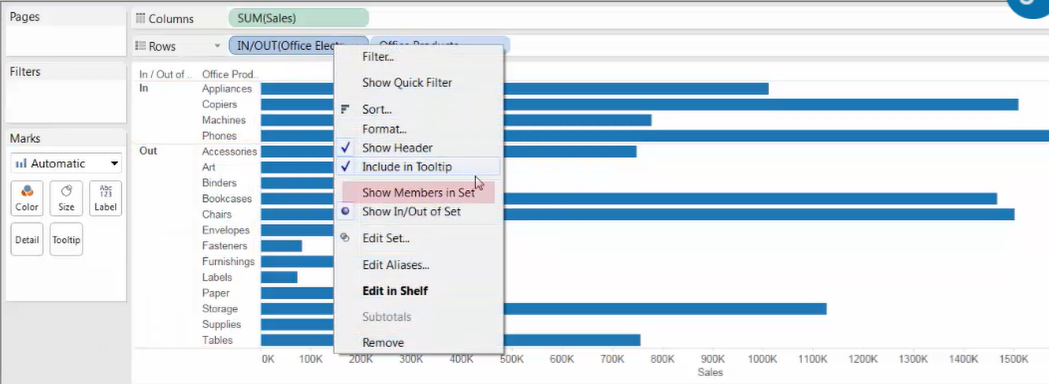
Use sets to compare members in a set to members not in the set
- Show In/Out of Set
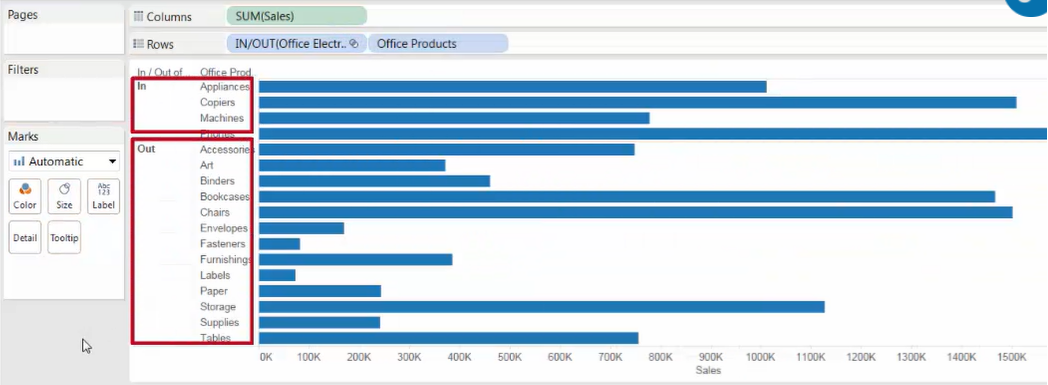
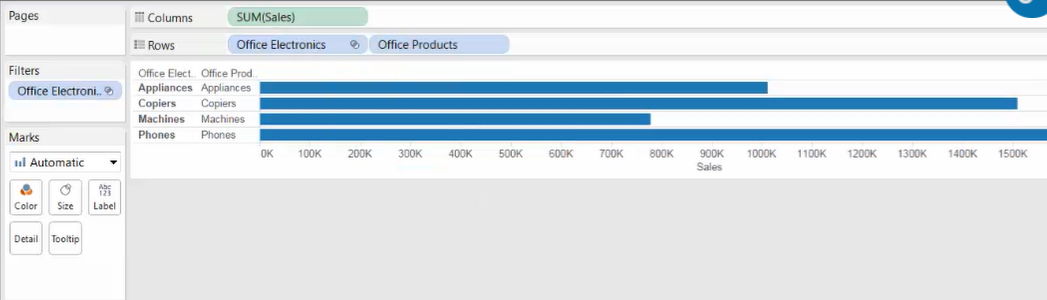
- Show Members in Set
-
Use as a filter
Sets can by used as a reusable filter by dragging the set into the Filters shelf.
Any set you create can be used across all worksheets in a workbook.
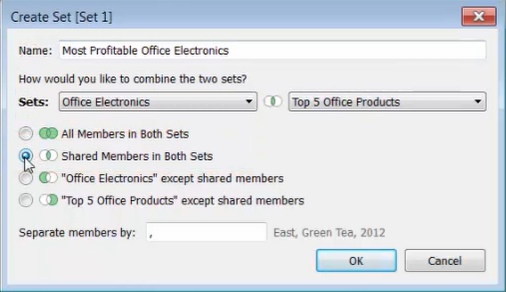
3. Combining Sets
A combined set allows you to compare multiple sets with one another to determine intersections or differences across the sets.
Notice: You can only combine sets that have been created with the same dimensions.
Steps for combining sets:
-
Select sets to combine
-
right-click --> [Create Combined Set]

-
Choose the combine style in [Create Set] dialog box